3-D Animation Projects
By Drew McCall
Howdy!
Ya miss me? It's been a while, but I've kept busy since my last post.
In fact, I've learned a lot since I've started working with Maya. Some of my previous posts are included in here, but there are plenty of new ones with the tools used described here.
HAMMERS
CUT FACE/ EXTRUDE/ BEVEL


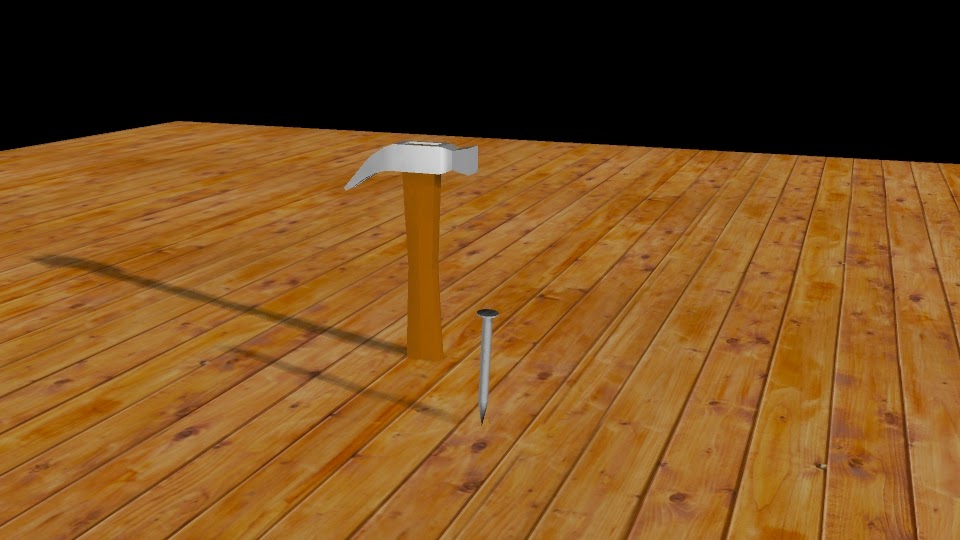
Cool hammers, amiright?
I liked making this, but making the tongs was pretty hard. In order to make them, we had to use the cut faces tool to cut the back of the hammer in half and separate the halves by shifting the vertices. The extrude was used make the head of the hammer, and again the vertices were also shifted to make the handle. The nail was made by adding subdivisions and scaling them. This was a fun project to do, and now I know how to make a hammer. So, yeah.
BOWL/ GLASS
NURBS/ CURVE/ REVOLVE

Although "NURBS" may sound like an insult, it is in fact a tool used to create original shapes other than polygons. In order to create these vessels, I had to create a NURBS curve - kind of like a profile of the shape - and use the revolve tool to create the final product. Then I added a transparent texture to make the wineglass and added a clay texture to make the terra cotta pot. I rendered the image using Mental Ray, which adds a reflection in the phong and blinn textures.
POLY..........THING
LIGHT

It's a thing!
I seriously have no idea what it is, but it's well lit, right?
I made this by creating some polygons (as in spheres) and using the difference tool which carved out the original sphere into the shape shown. But most importantly, I lit the scene using a three-point lighting scheme. I used directional lights mostly, and adjusted the light strength and the shadows.
SHAKER
CUVES-CIRCLE/ LOFTING

I'm sorry. I didn't animate any pizza to go along with this.
I think that this is one of my better 3D animation projects since the mental ray that I used turned out so well, and a lot of care also went into creating the lights. Originally we were told by our teacher to make salt and pepper shakers, but I wanted to give myself a bit of a challenge and create parmesan and red pepper shakers, which have a distinct curved shape. In order to create the original shape of the shakers I used the circle NURBS curves tool (LOL it rhymes) which creates a skeleton with which I later used the lofting tool to create the final shape. After altering the vertices to make the curve look natural, I began working on the lid. The lid is in fact a sphere that I scaled down and "differenced" to make the holes. I added some textures and lighting, and I rendered out the image via mental ray and badda-boom badda-bing: you've got yourself some high quality pizzeria shakers!
BOUNCE
KEYFRAMES/ GRAPH EDITOR
Ever seen a bowling ball bounce?
I have.
And you're about to see one bounce if you press the play button.
This was the first project that I actually animated using keyframes and the graph editor. The actual create of the balls was simple: They're just spheres that have been textured. The hard part came in when we had to time out the keyframes to make the bouncing appear realistic. We edited the height in the graph editor, and imported the rendered images into After Effects.
ICE CREAM
BUMP MAPS, LOOPING MOVIE
I scream, you scream, we all scream.
No comments:
Post a Comment